The first step after registration is to create a location. The "Locations" button can be found on the left side of the screen of the browser. A location is a floor plan of the area that will be covered by one of Navigine solutions - asset tracking or indoor navigation. A location consists of sublocations (floors, levels), the amount of which depends on the complexity of the target area (multi-floor buildings, several buildings in close proximity).
¶ Add Location
- Upload the floor plan of the building into the platform in PNG, JPG or SVG file format. This can be done in two ways:
1.1 From the home page, if this is the first location you are creating in the Navigine Map Management tool.
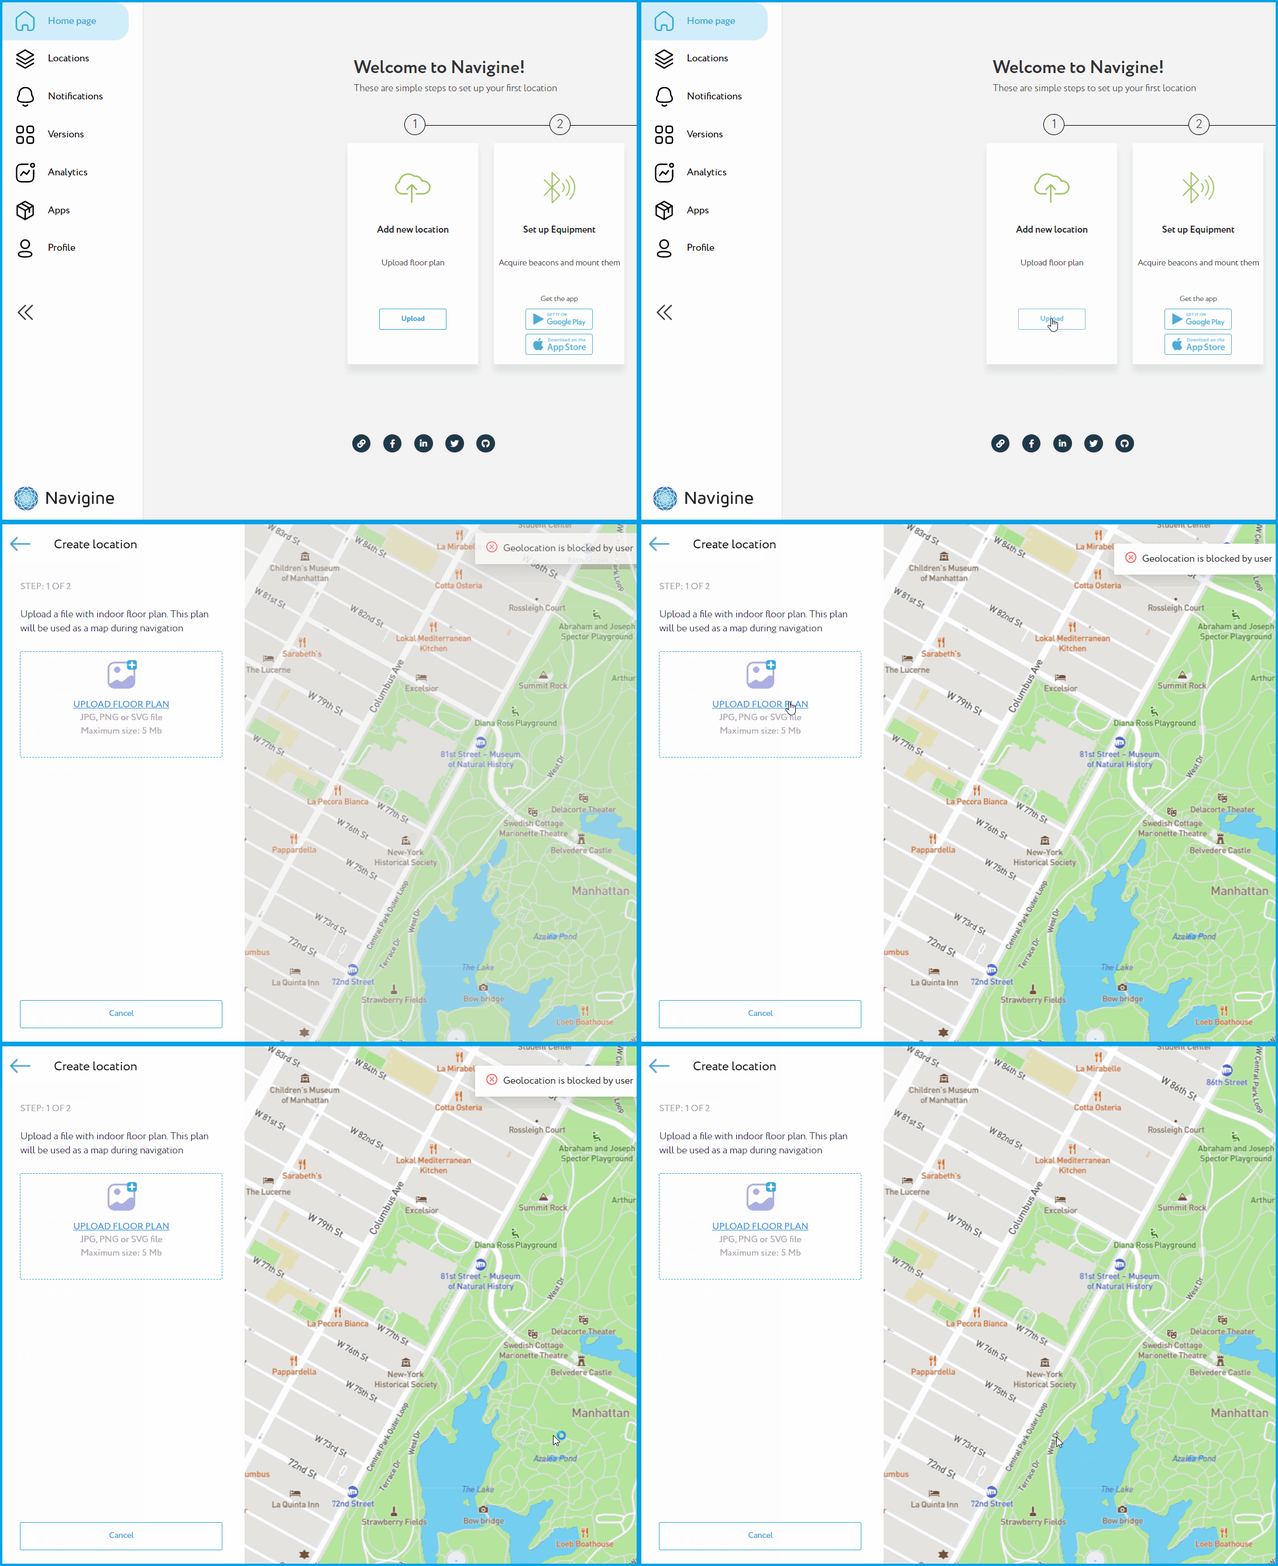
1.2 In "Locations" choose the "Location" tab at the top bar and press "Add location".
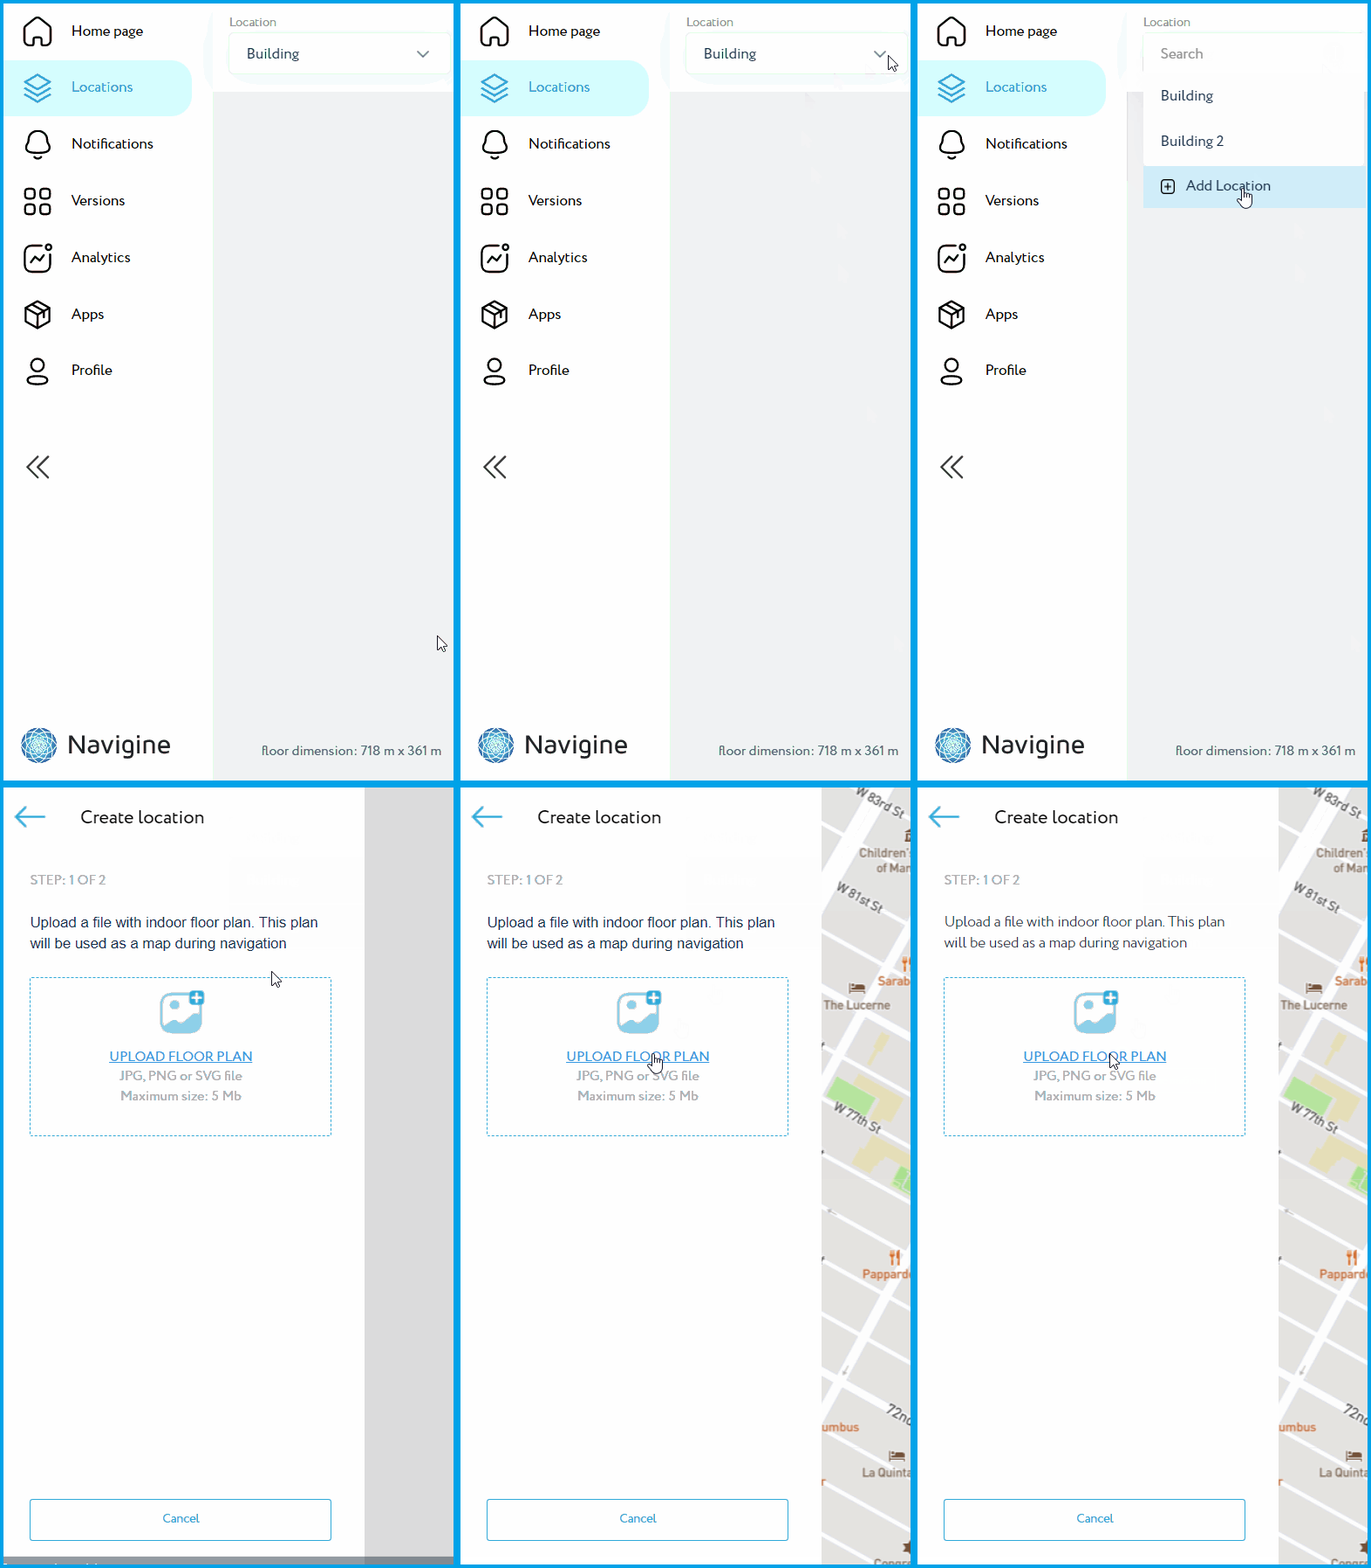
Note that the size of the image shall not exceed 5 Mb.
- Place the floor plan image on the map so it matches the location of the building. Adjust the image's position, size, and rotation to make it fit perfectly with indoor space on the map.
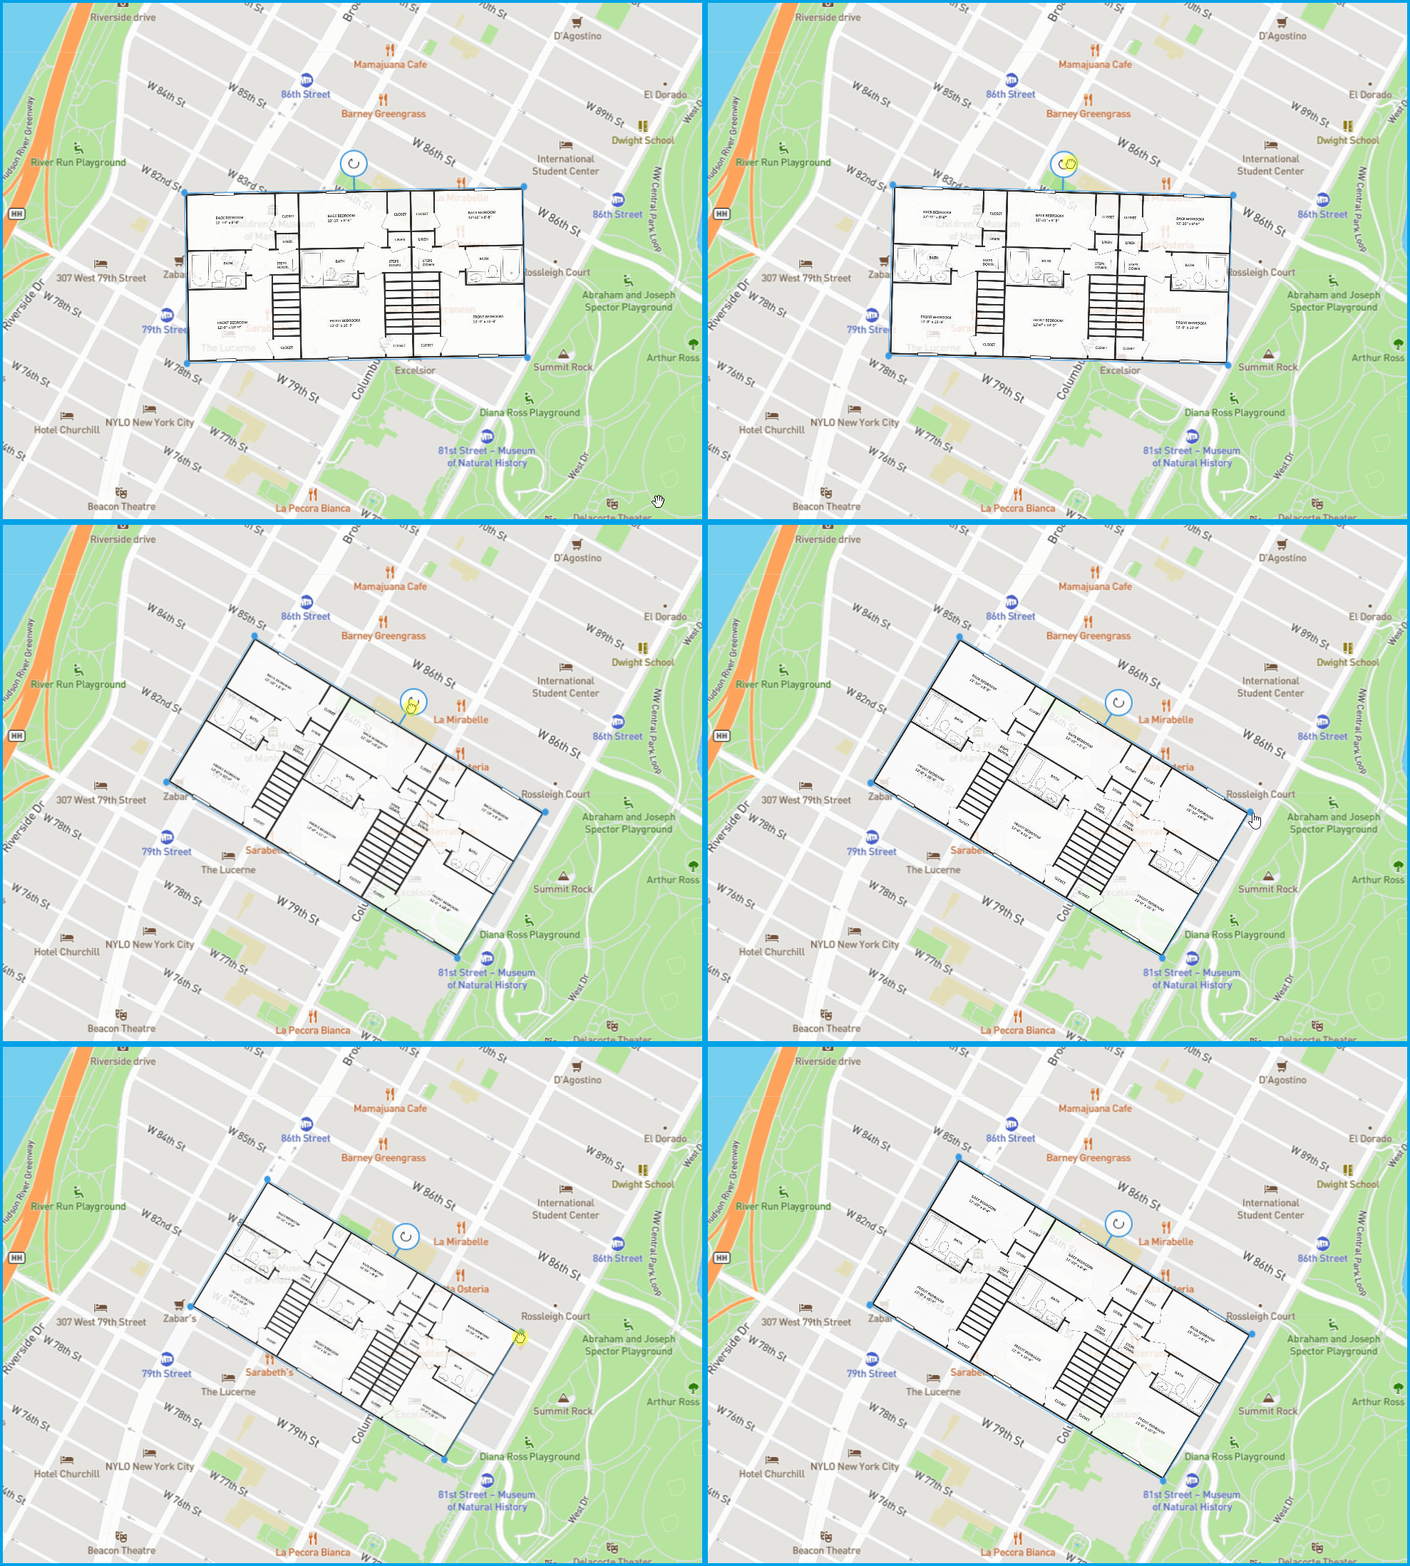
- If there is difficulty finding the location on the map, open advanced settings for additional functionality. Here it is possible to add precision to floor plan location: - Floor name, - Address, - Latitude, - Longitude, - External ID, - Level ID, - m Projection width, - m Projection height, - m Height above ground level, - Angle, - m Plan opacity.
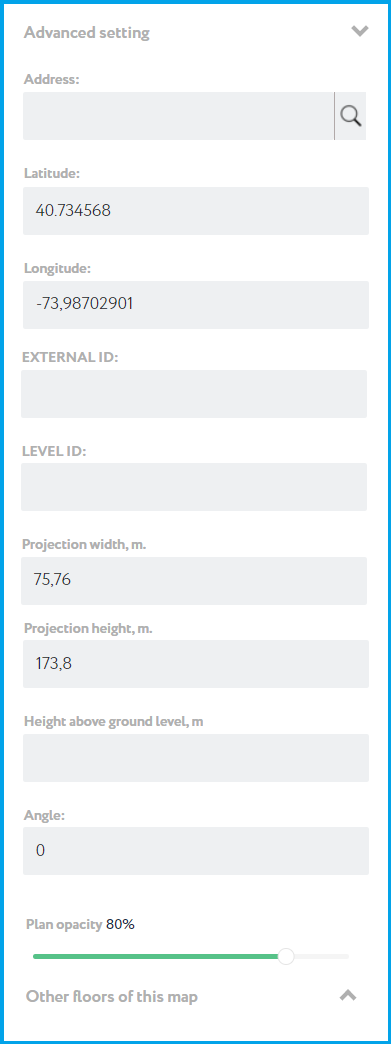
- Once all the fields are filled in, click the "Save" button.

¶ Add floor
- For multi-floor buildings, choose the "Floor" tab in the toolbar. Press "Add floor". Follow bulletpoints 1-4 of this instruction.

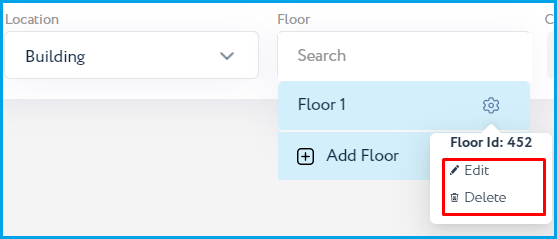
- If you need to change or delete the floor plan, open "Floor" tab dropdown list. Choose the floor plan and press the settings button. "Edit" and "Delete" butttons will appear.
