The Notification Tab is used to receive notifications about object(employee, device,etc.) movements events. Whenever an event occurs, a notification will appear in the upper-right corner of the screen.
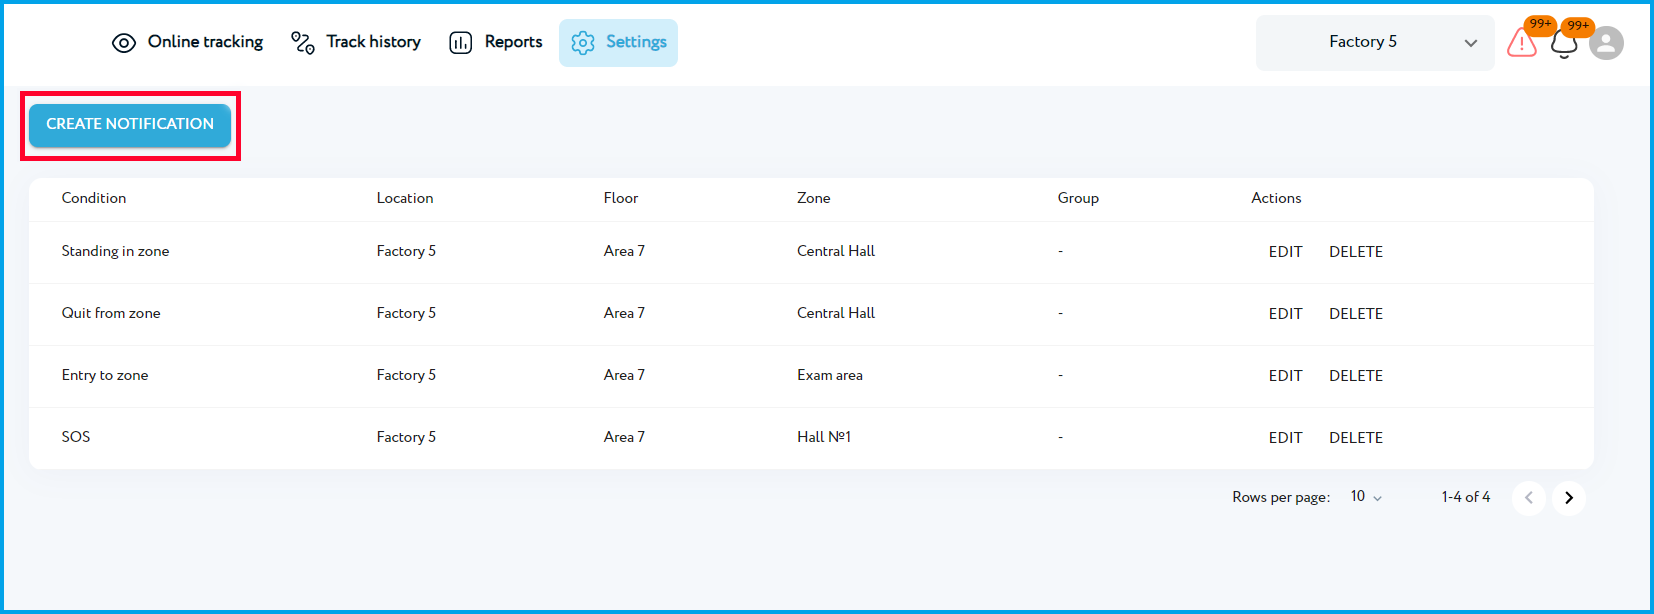
You can view the created notifications in the Notifications tab. The preview shows the Notification Condition, Location, Floor (sublocation), Zone, Group, and Actions.
Setting up notifications
How to set up local notifications in Navigine CMS
- Open the Notifications tab
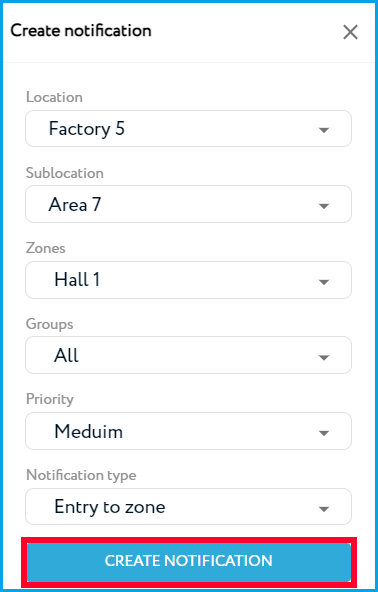
- Click the Create notification button
- Set up the notification parameters as title, description, interval, priority, and when the should be invoked.
- Location - Locations list;
- Sublocation - Sublocation list;
- Zone - Zones are specific areas that you can set up to trigger notifications;
- Groups - select which group should receive the notifications;
- Priority - Notification hierarchy of priorities. The priority rises as the value decreases. If the same beacon is the target of several notification messages, the notification with the highest hierarchy position appears first. The remaining notification messages will show up one by one with a 10-second wait. There are Low, Medium and High priority.
- Notification type - circumstance under which the notification should be displayed
Entry to zone - This occurs when an employee enters the designated area
Quit from zone - This happens when an employee leaves the zone.
Standing in zone - If an employee stays in the zone for a specific amount of time, a notification is triggered.
Staying out of zone - If an employee stays out of a zone for a certain period of time, a notification is generated.
SOS - This is activated when the emergency button is pressed.
FALL - This occurs when the device falls.
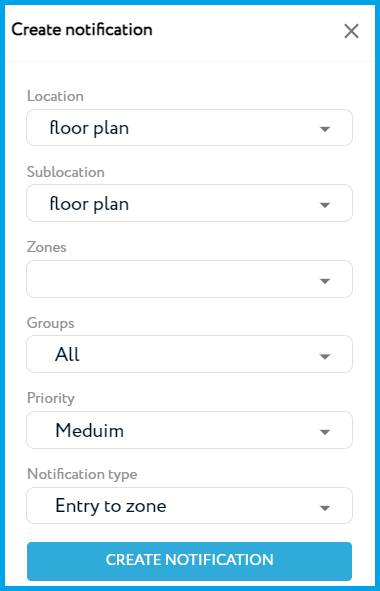
- To complete the process of creating a new notification, simply click on the "Create Notification" button.