¶ Log recording
Depending on the specific location, installation method, walls, barriers, etc., the signals that gateway/phone receives can vary greatly. To adapt the algorithm parameters to a specific location, it is necessary to carry out a calibration procedure.
To select the optimal parameters of navigation algorithms and analyze the quality of visible signals, it is necessary to carry out a procedure for recording logs. This proceduge collect all signals and user ground truth. After that, the parameters of the navigation algorithms are selected in such a way that the error between the calculated position and the true position of the user is minimal
To make sure that all beacons are in the right place, we need to record logs for each sublocation. This will help us analyze the data to see if there are any sudden changes, how much smoothing is needed, and how accurate the results are.
¶ Before recording logs, make sure that the location is set up correctly. Here are the steps to check:
- Upload the location to Navigine Mapping Tool.
- Install the beacons in the correct positions.
- Use barriers to surround non-walkable areas.
- Add passageways as paths in the Mapping Tool.
NOTE: Install the latest version of Navigine mobile app on your iOS/Android device.
Make sure there is no interference with your device. If there is, restart the recording process.
¶ During recording:
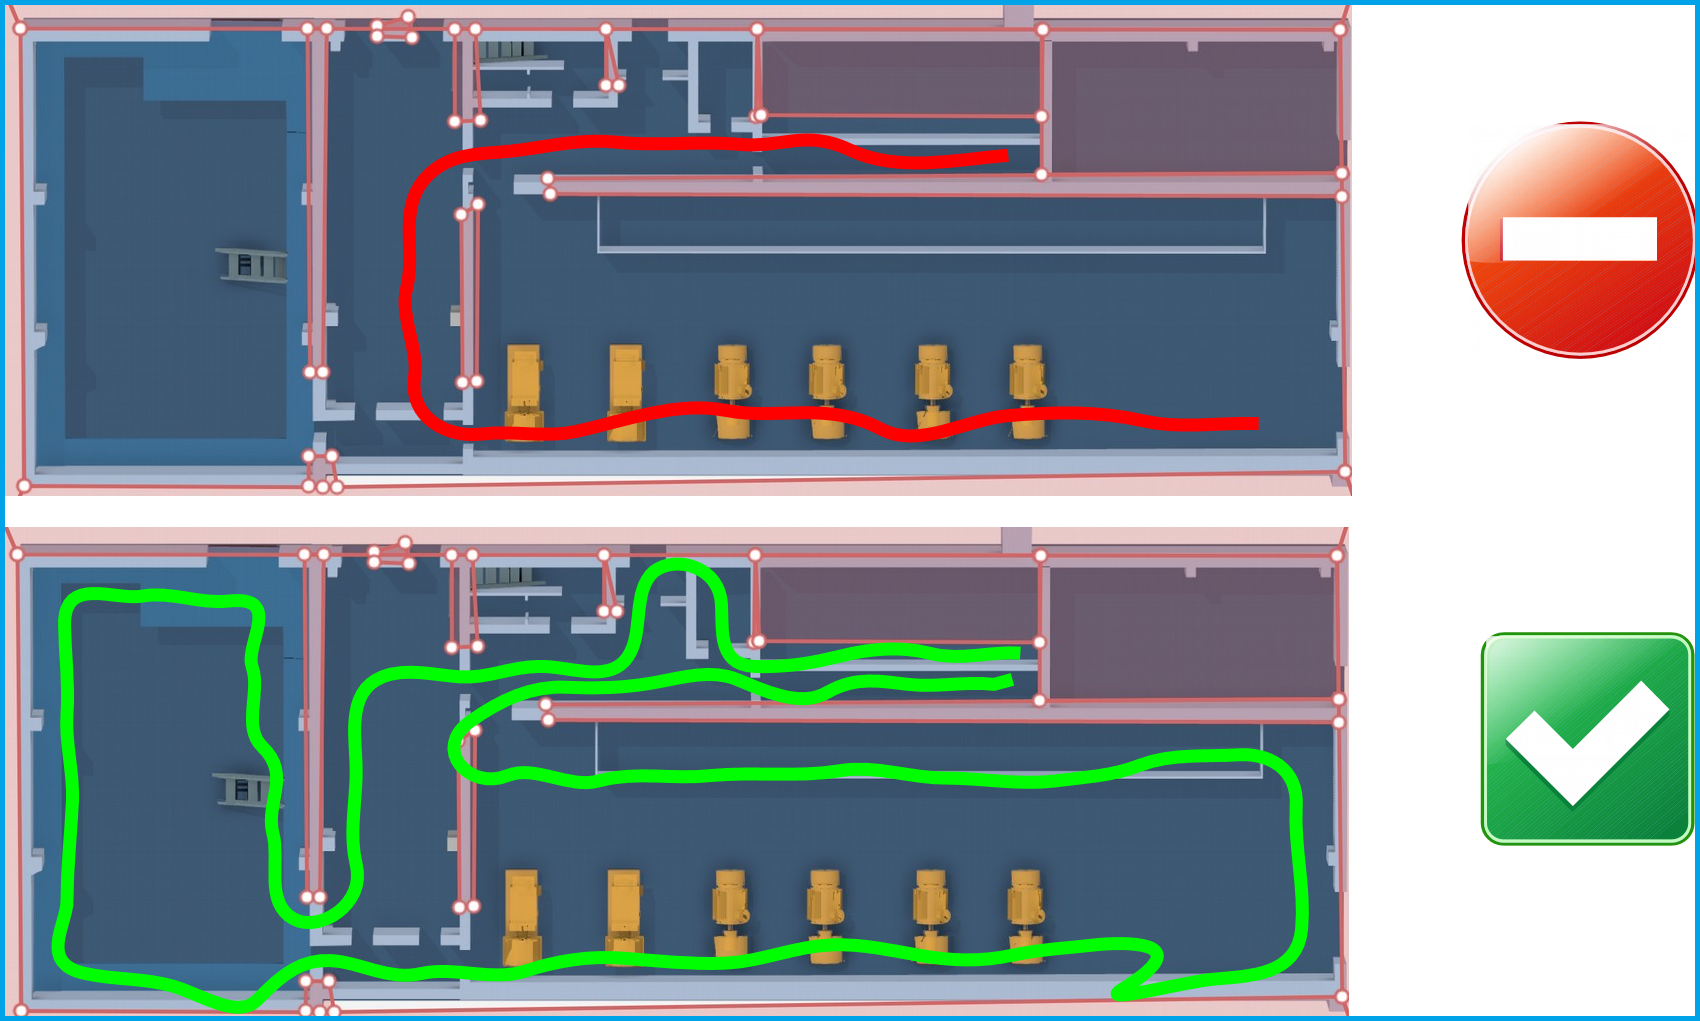
- Record between 5-10 log files for better analysis.
- Record for at least 2 minutes to ensure accurate positioning.
- Cover the entire walkable area and area of beacon placement to ensure correct configuration.
- Start and end the route at the same point to evaluate signal quality.
- Clock the start and end time for additional logs from other devices.
See the figure for an example of a good and bad route for log recording..
To measure and improve accuracy, we use ground truth data. The recording process involves creating a series of points to define a trajectory, then moving along that path to collect data.
By adding checkpoints, we can compare the calculated position to the recorded trajectory and calculate the average and maximum positional error. This gives us more accurate data.
The trajectory is represented by a polyline, which is a series of connected points. Each point on the polyline is a checkpoint and the line segment between the points represents the route.
¶ Log recording via phone
This is a step-by-step guide on how to record a log for a mobile application using Navigine.
Steps:
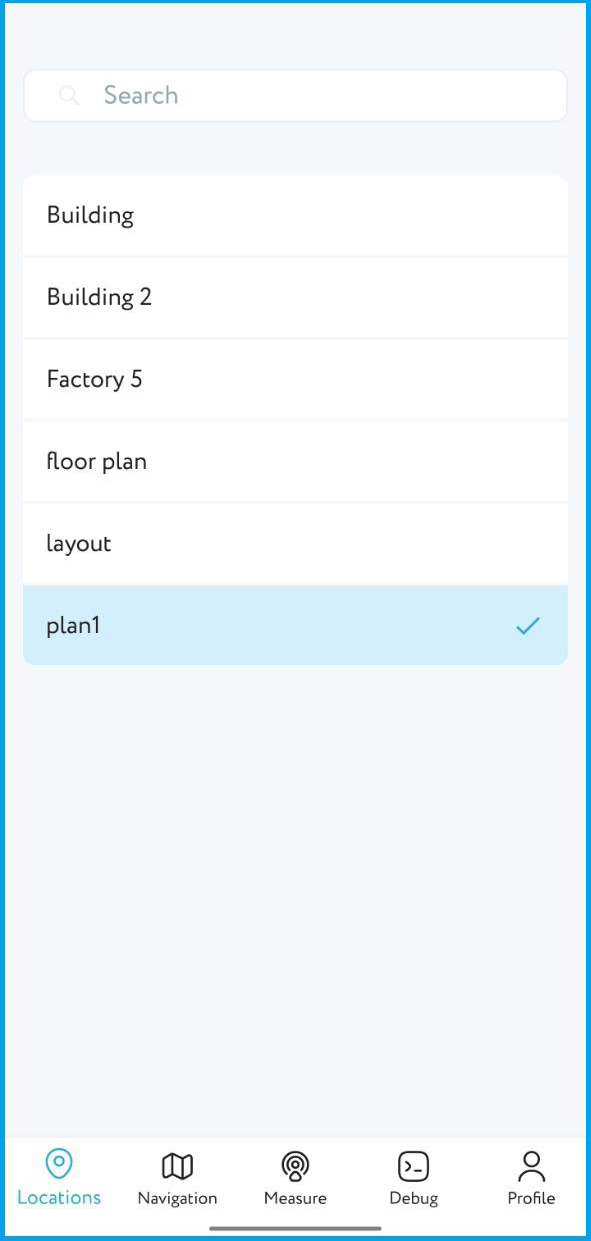
- Select the location where you want to record logs. You can do this from the top drop-down menu.
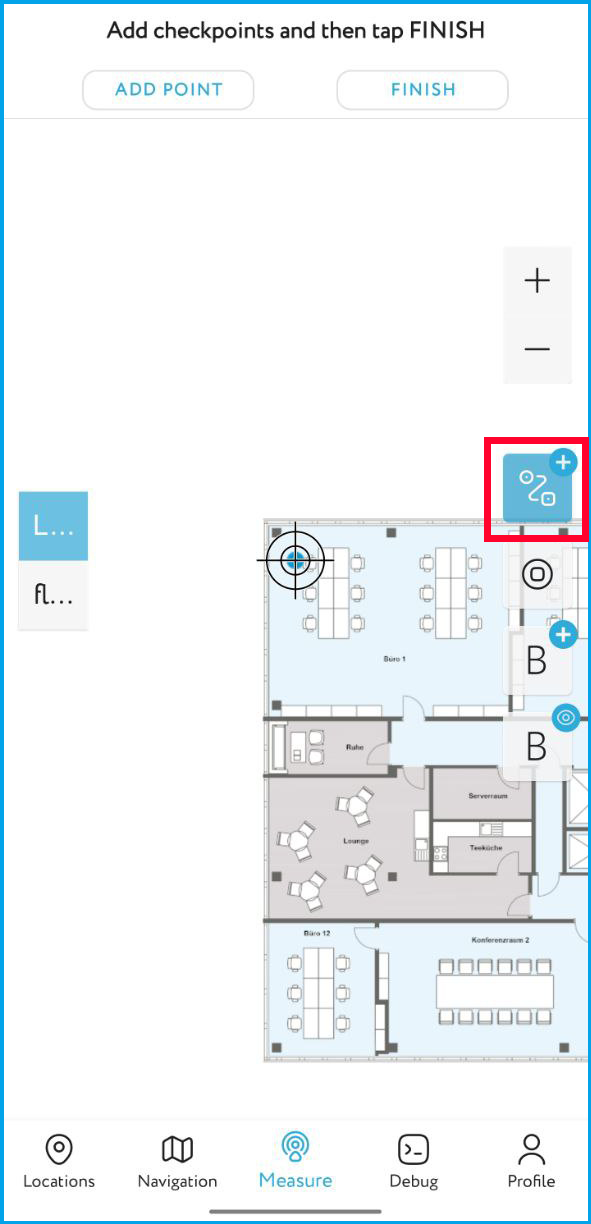
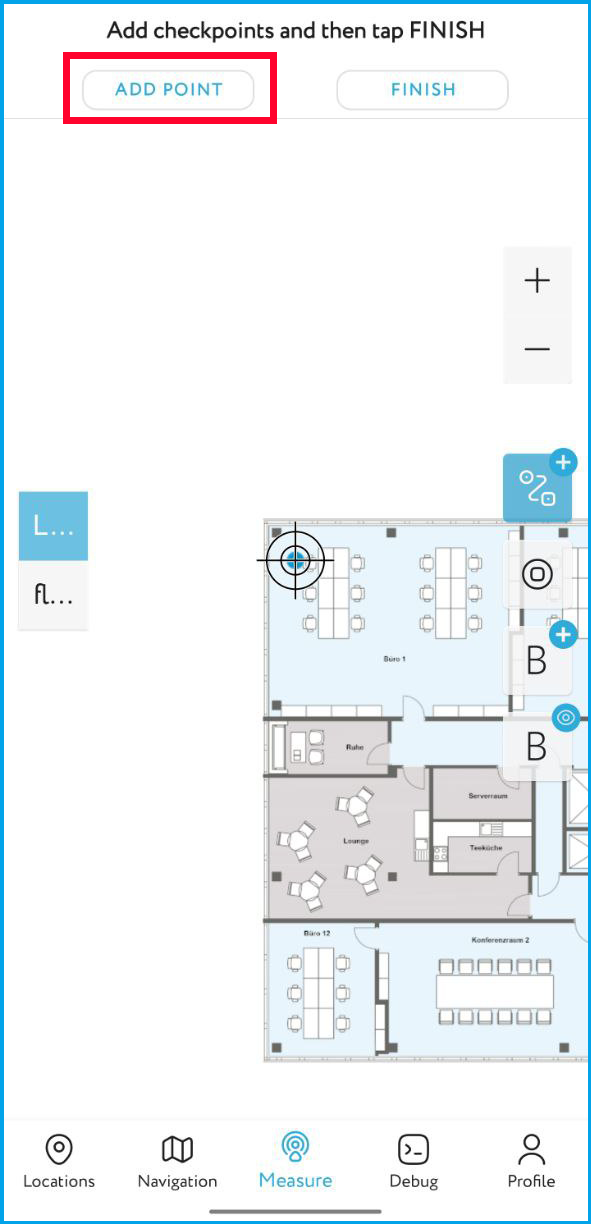
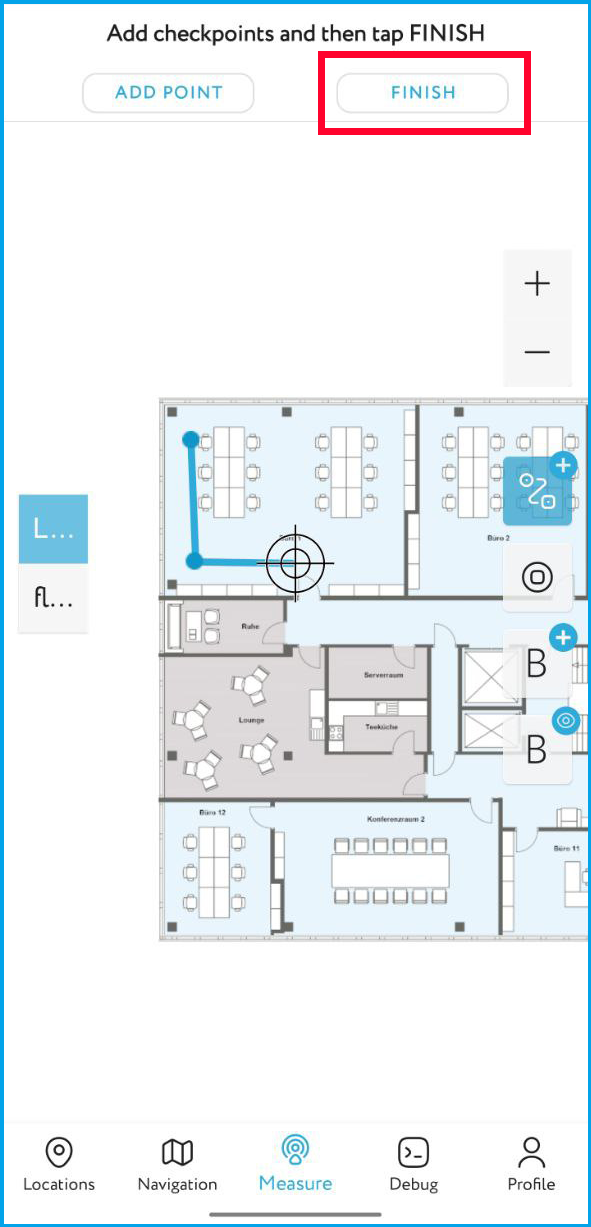
- Specify the route that you will take to record the log. This is known as a polyline and is made up of a set of points that you need to define. The starting point is automatically created at the position of the cursor upon clicking the bottom right button. To add more points, move the cursor to the correct place and click "Add point". When you're finished, click "Finish". If you make a mistake, you can click the bottom right button again to cancel the line.
- Go to the starting point of the specified route and click "Start Measuring". Start walking along the route while recording the log. Please keep a constant speed and avoid stopping.
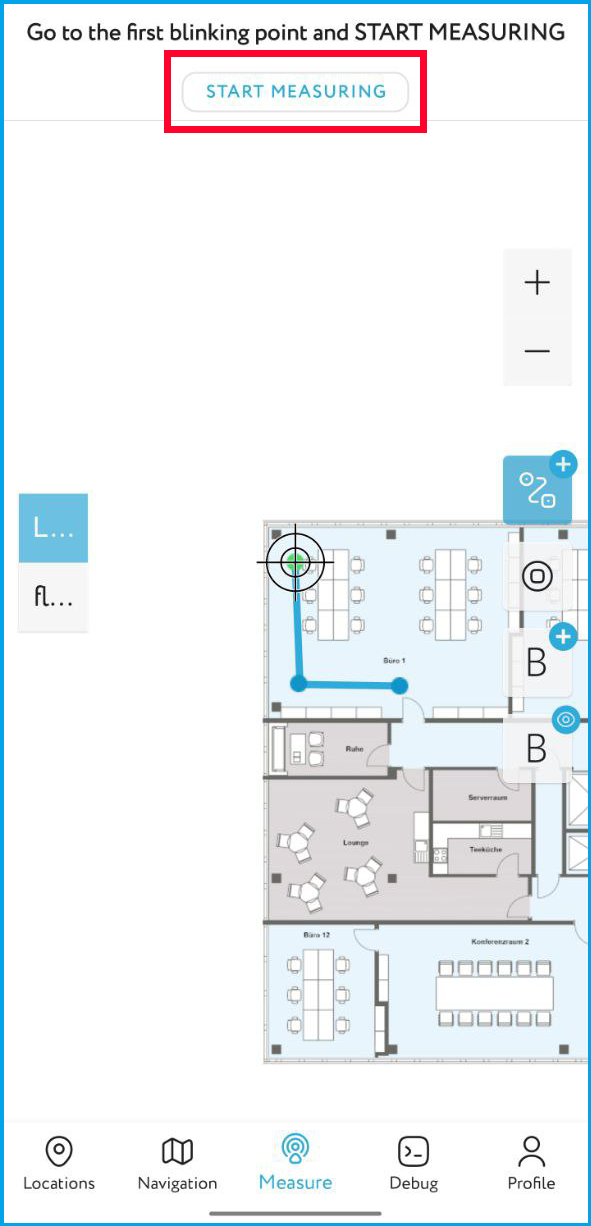
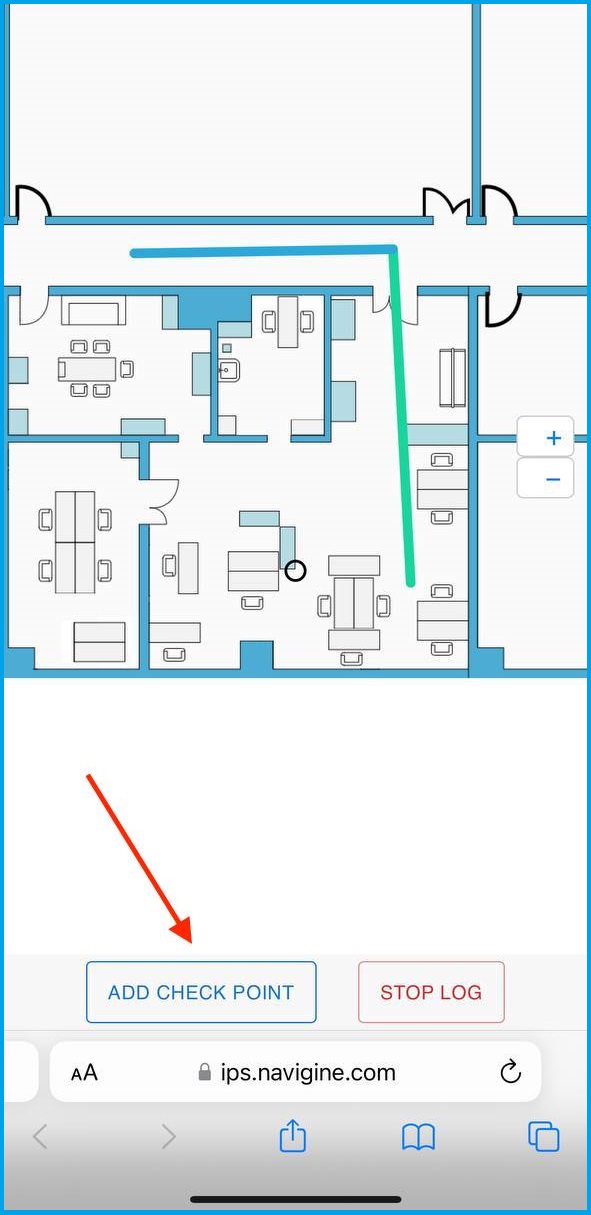
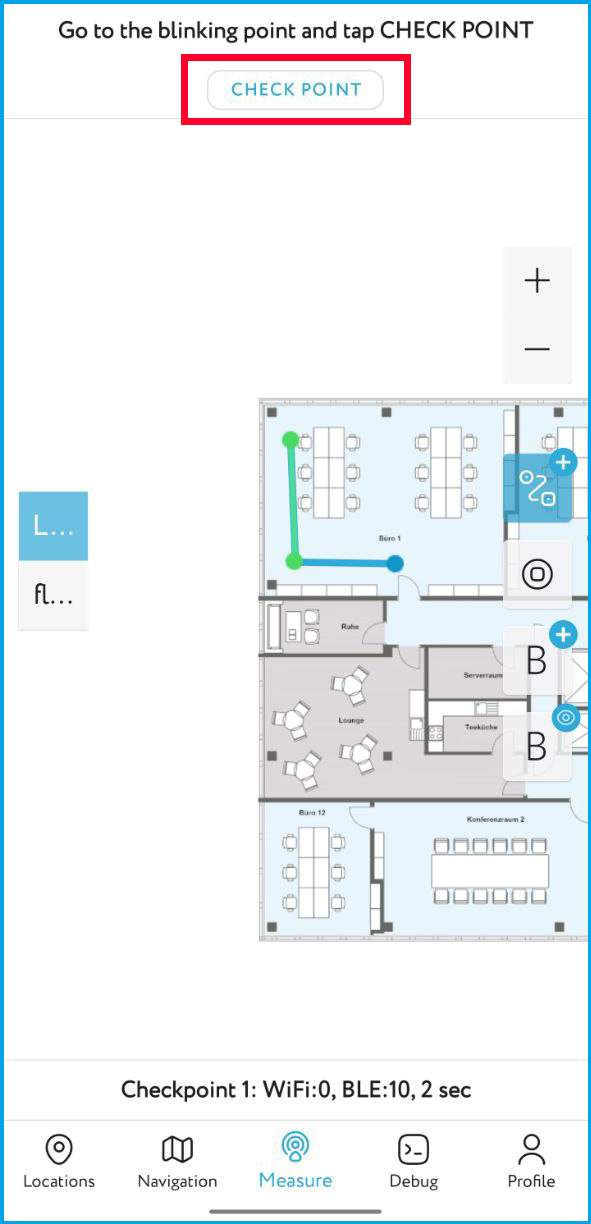
- Each time you pass a checkpoint (vertex), click "Checkpoint" in the application to bind your current position to the current time label. All passed points and sections will be marked with green color.
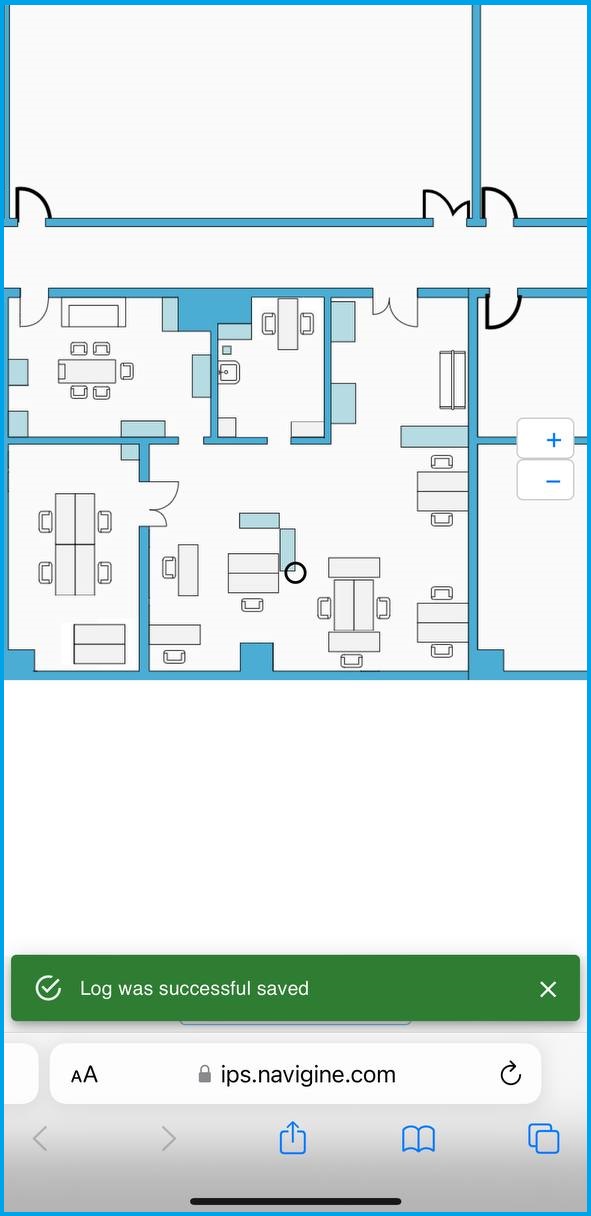
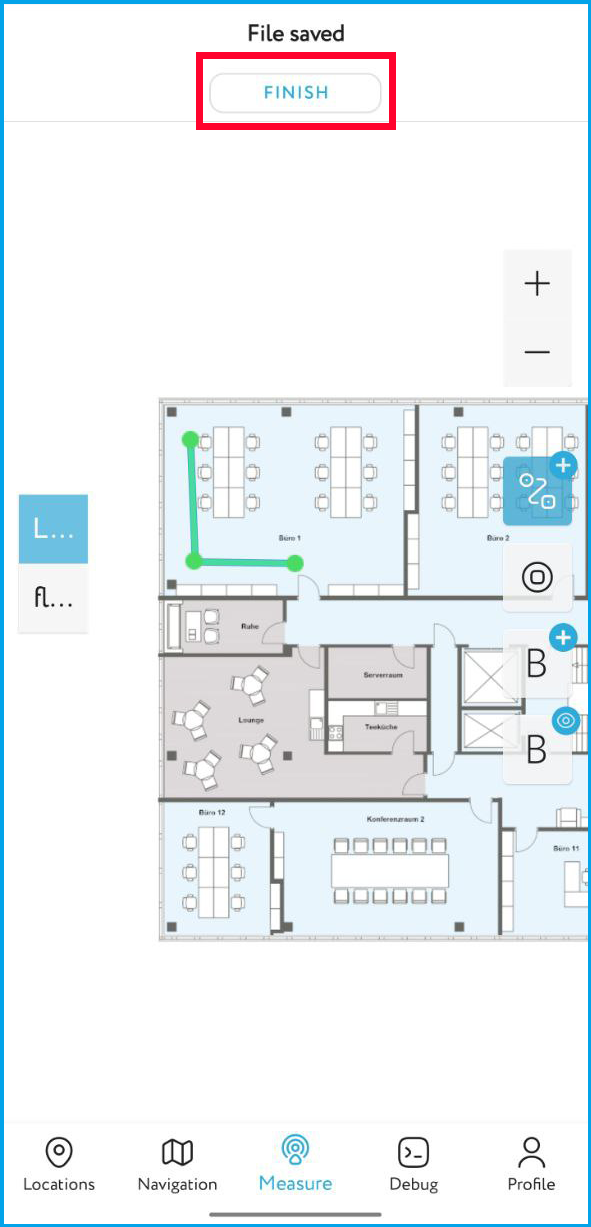
- After the last checkpoint, you will see the name of the resulting log file. Click "Finish".
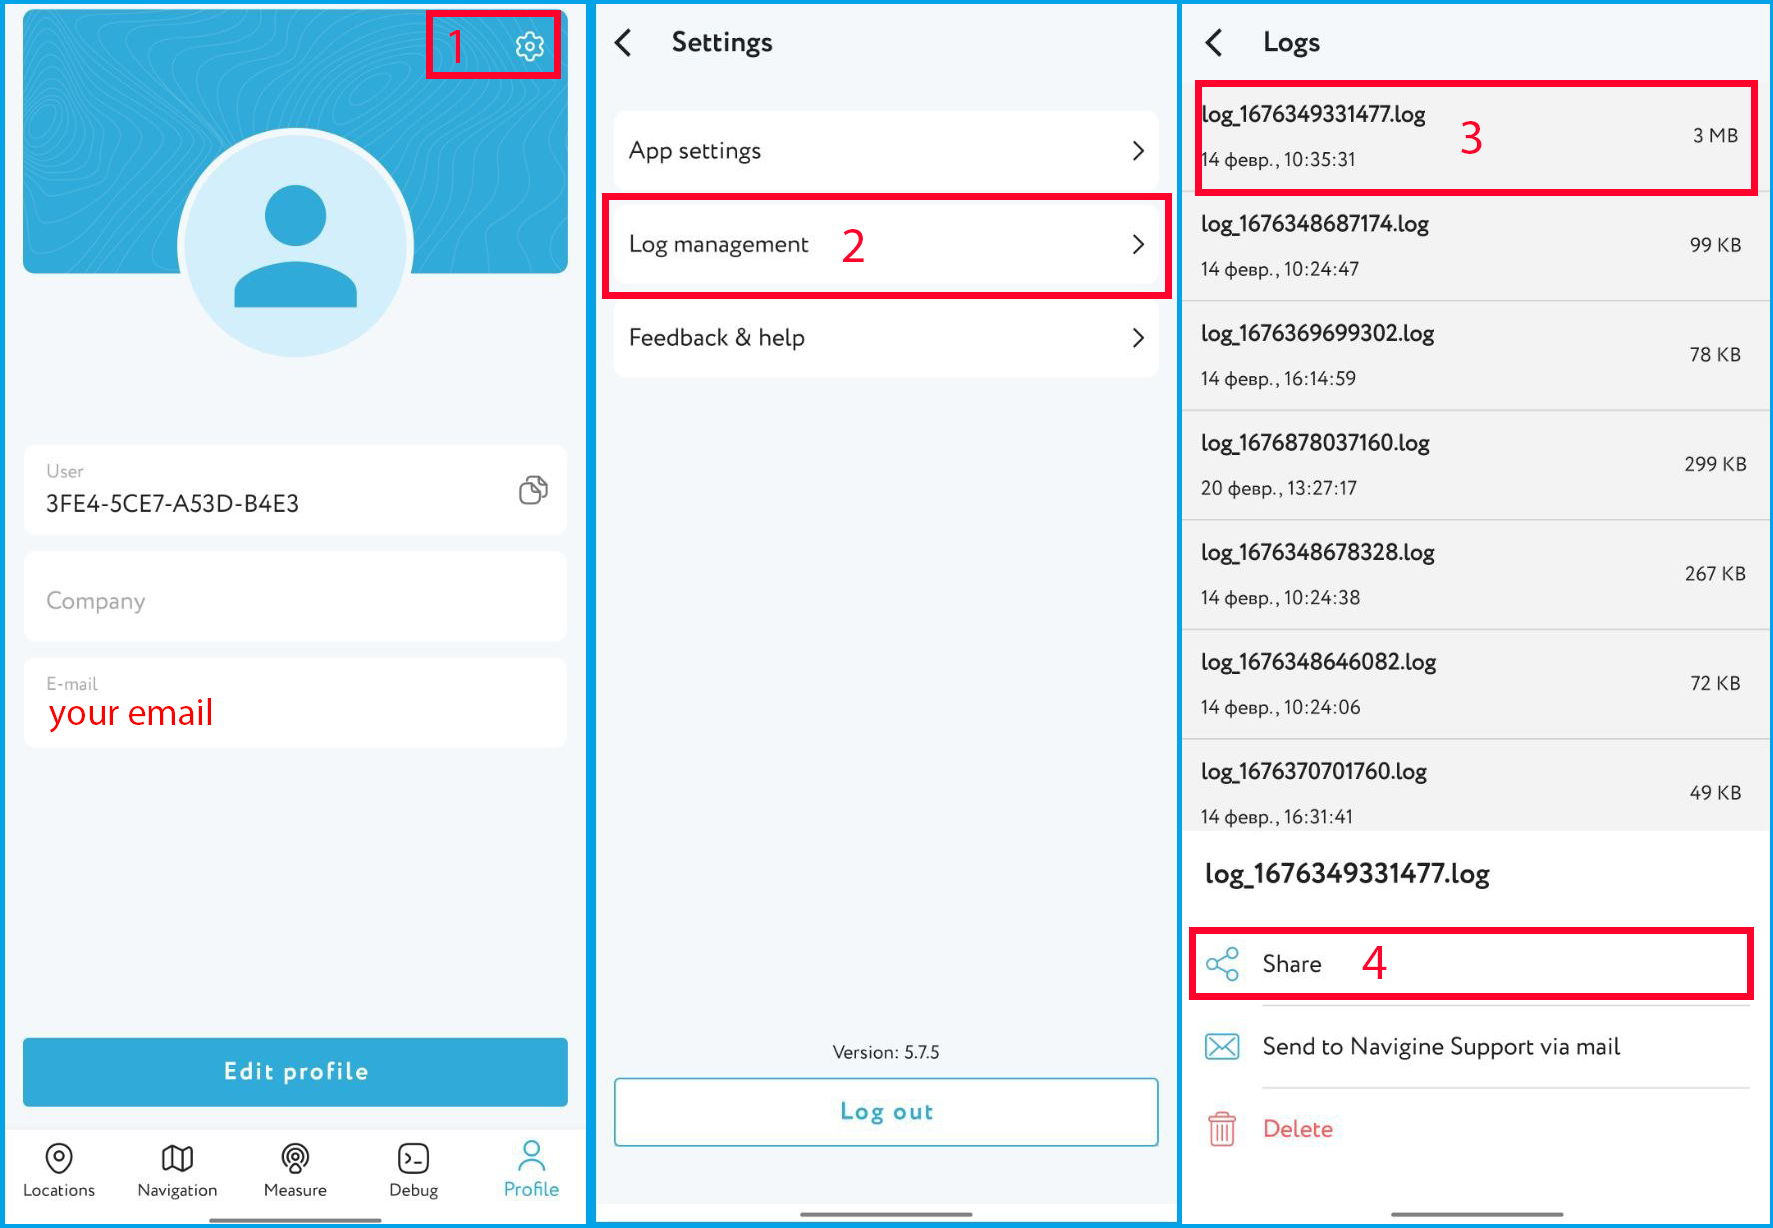
- To share the log file, go to the "Profile" tab, then click "Machine Wheel" in the top right corner, followed by "Log management". Tap on the file name and then click "Share".
-
Click the log name and send it via email (info@navigine.com) to Navigine Support or share it using your favourite app.
-
This log contains information about the reference trajectory and timestamps, and is useful for remote navigation setup.
It's recommended to record logs for the first setup at any location to understand any possible configuration problems.
¶ How to record Static Log :
- Click on "Measure Static Log" button.
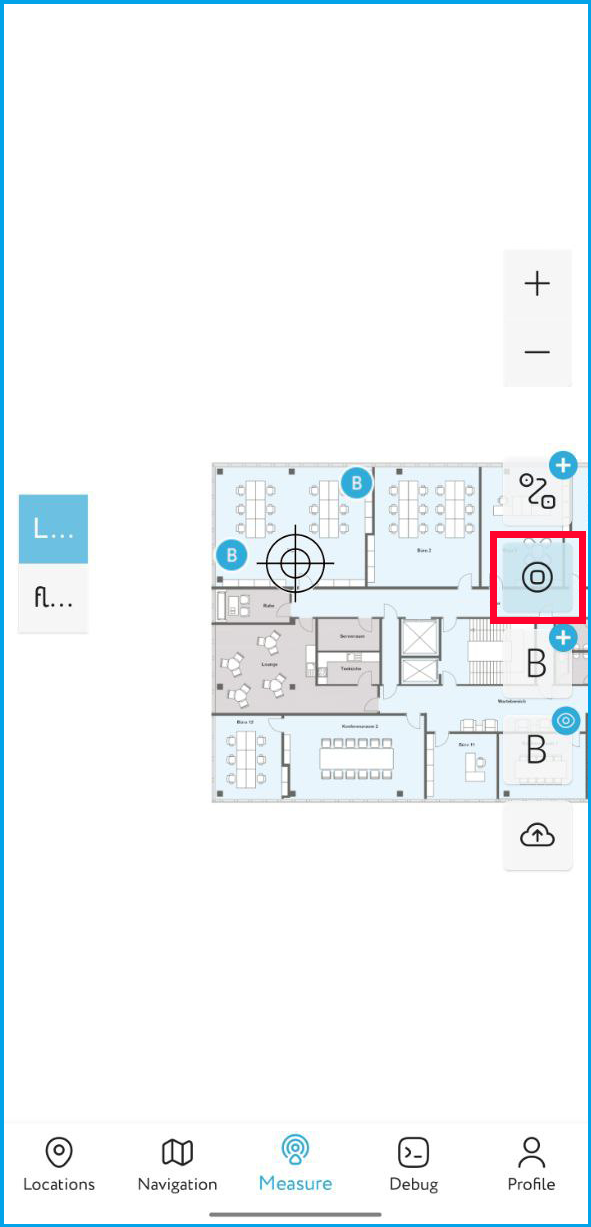
- Click on "Start Measuring" to begin the recording process.
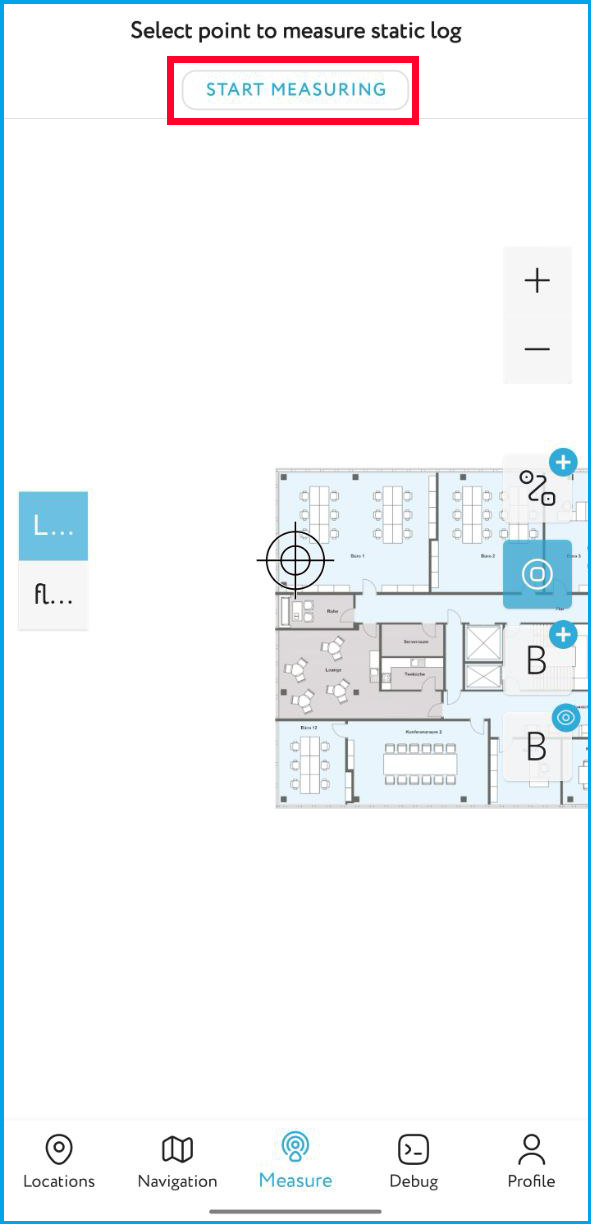
- Stand still for two minutes while the recording takes place.
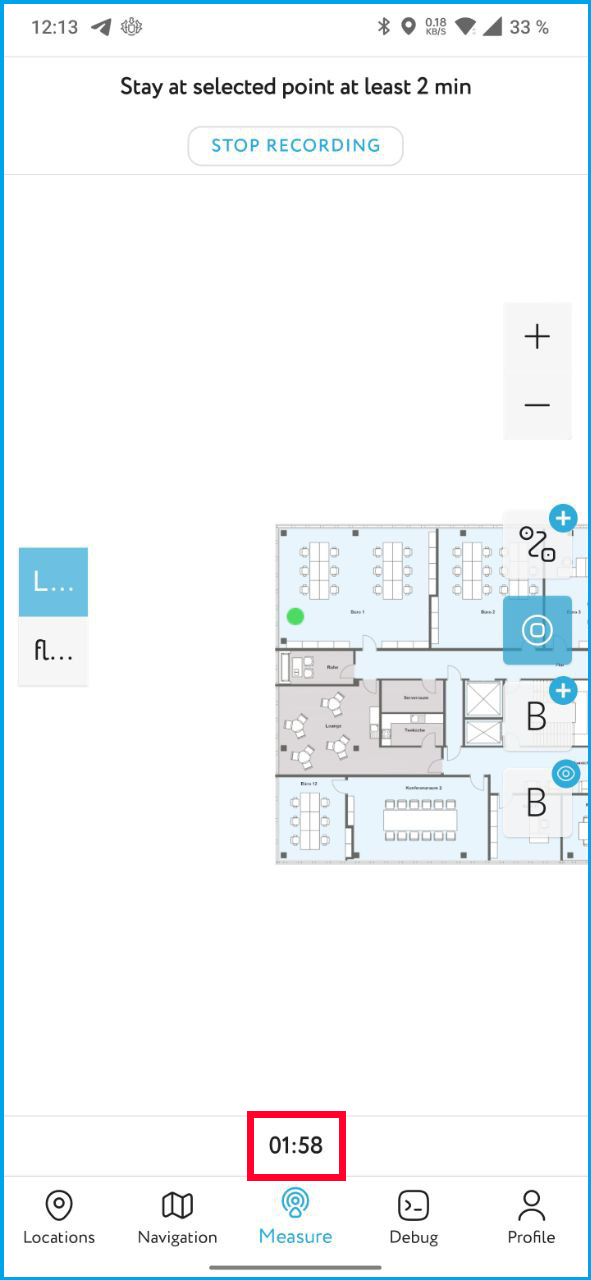
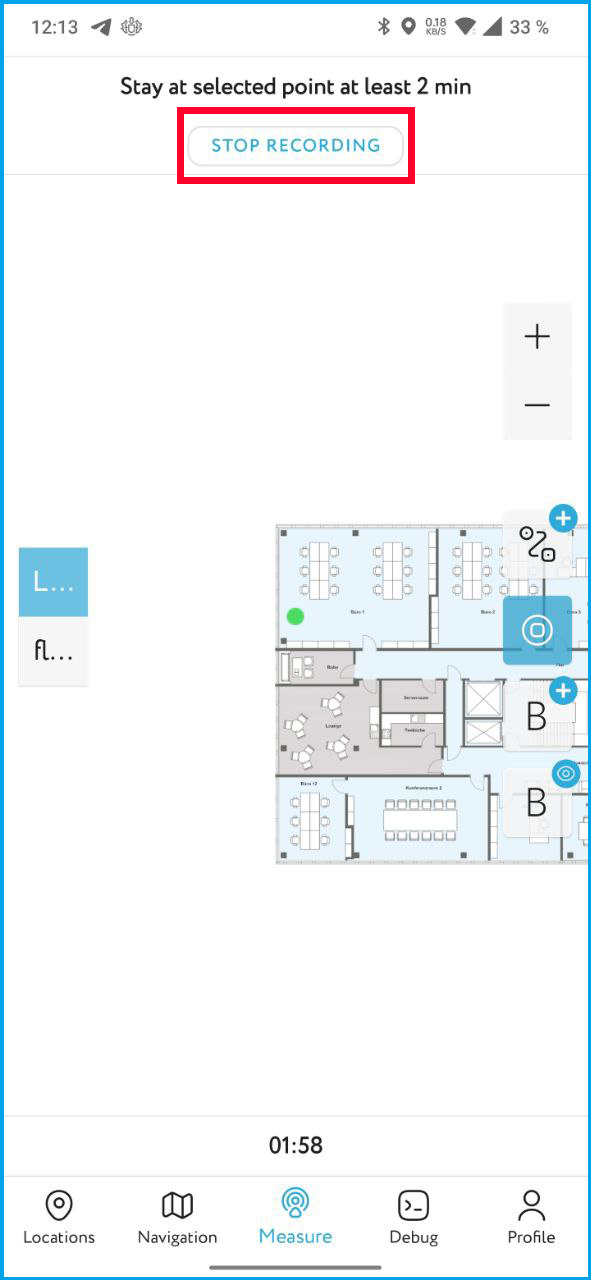

NOTE: Recording a static log is useful when you need to address a problem where your position is constantly changing even when you are staying still. By performing a static log recording, you can create a baseline measurement of your stationary position, which can help improve the accuracy of your location tracking.
¶ Log recording by tracking
Pipeline:
- Go to https://rtls.navigine.com and make sure your app is selected.
- Open the "Settings" tab, then click "Devices" and "Edit" for your device.

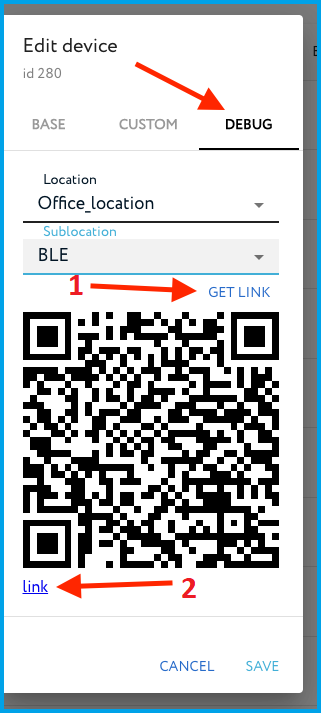
- Choose your location and sublocation, and click "Get link". Scan the QR code or open the link.
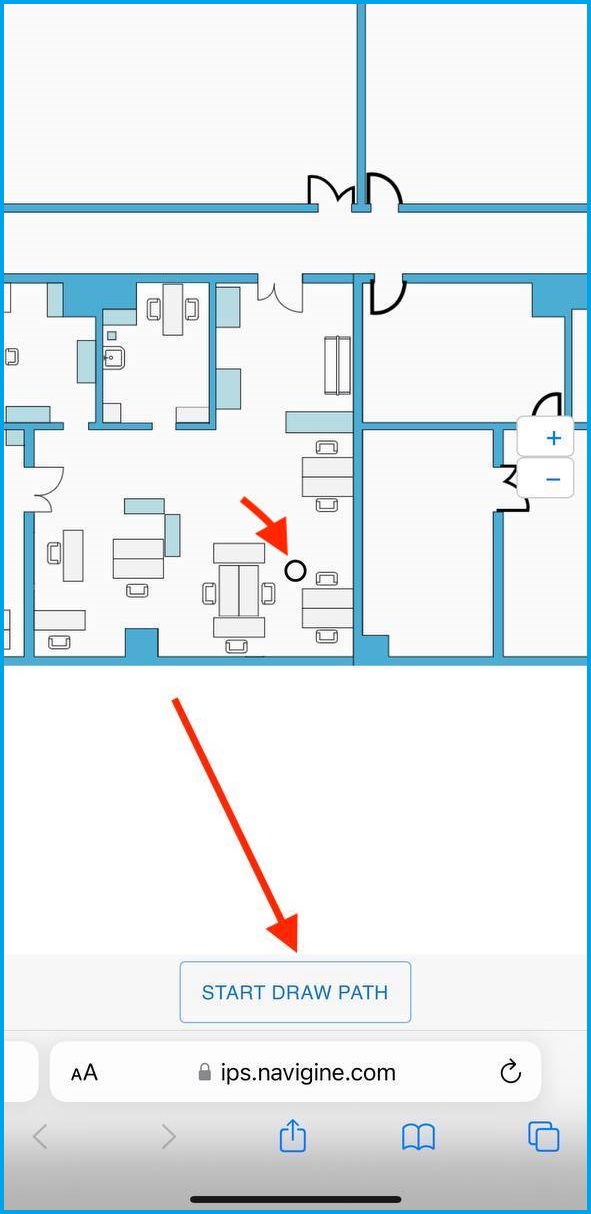
- To start drawing a route, click "Start draw path" after placing the cursor at the starting point.
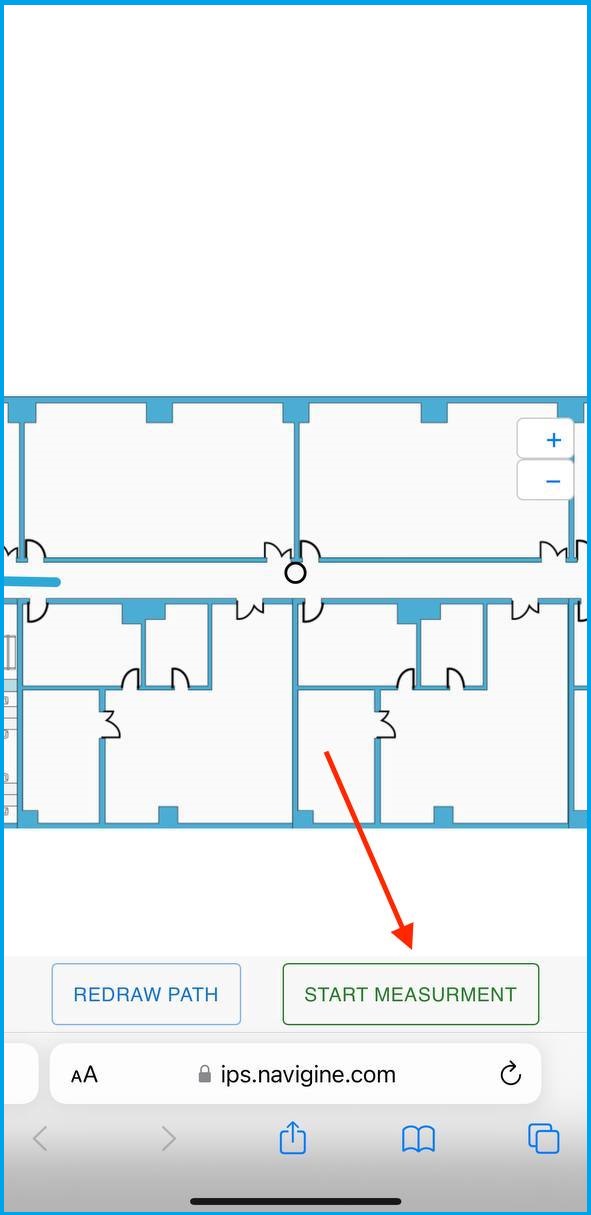
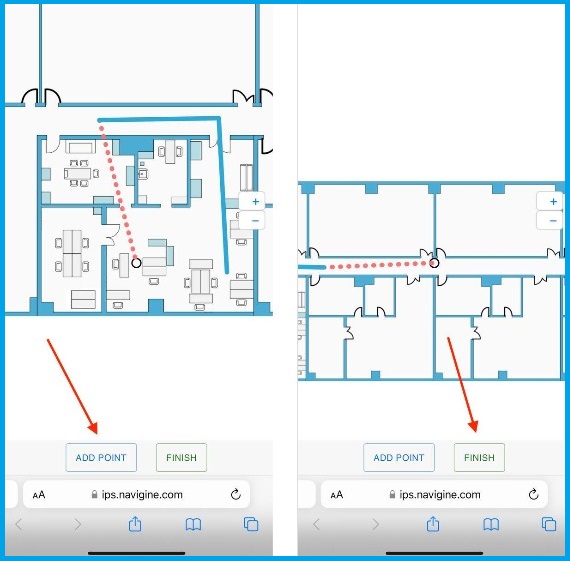
- Create the path by clicking "Add point" at each point along the way, and "Finish" when you're done. You can use "Redraw path" to make changes.
- Once your route is drawn, start measuring by clicking "Start measurement" and walking along the route. Click "Add check point" when you pass each checkpoint, and keep a constant walking speed.
